In Easy Dental, you can compile and maintain a database of employers which can be assigned to patients. That way, you only have to enter an employer’s information once, and then simply assign it to patients as needed.
Before entering a new employer’s information in Easy Dental, however, you should always look to see if it already exists.
To add an employer:
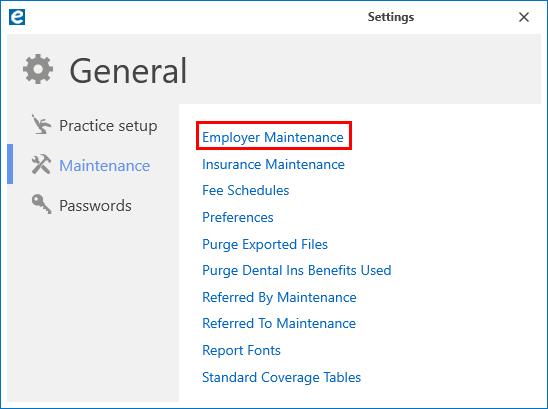
- In the Patient Banner, click the Settings button.
- From the options on the left, click Maintenance, then Employer Maintenance.
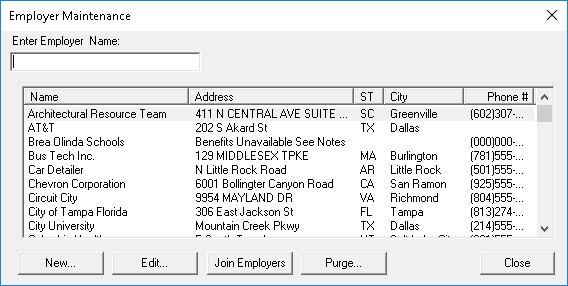
- In the Enter Employer Name box, type the first few letters of the employer you want to add to verify that it doesn’t already exist in your system. Once you have verified it doesn’t exist, click New.
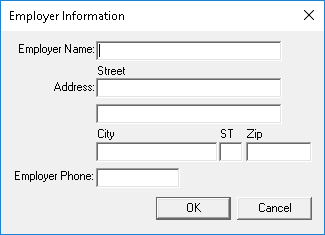
- Type the name, address, and phone numbers in the appropriate fields, and click OK to add the employer to your database.
Once you have added the employer to your database, you can assign it to a patient.
To assign an employer to a patient:
- In the Patients module, select the patient.
- Click the Employer pane and then click the Edit icon (pencil).
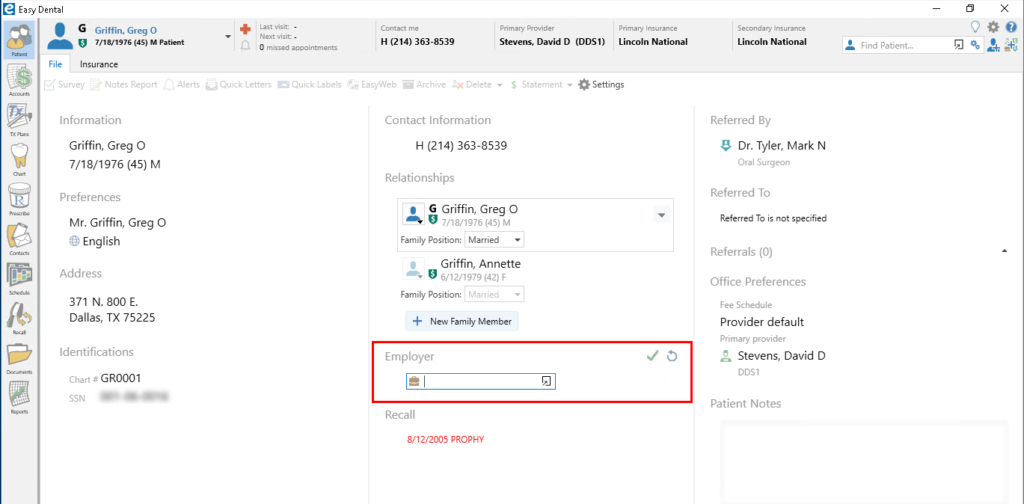
- Do one of the following:
- Type the first few letters of the employer’s name, and then select the patient’s employer from the list.
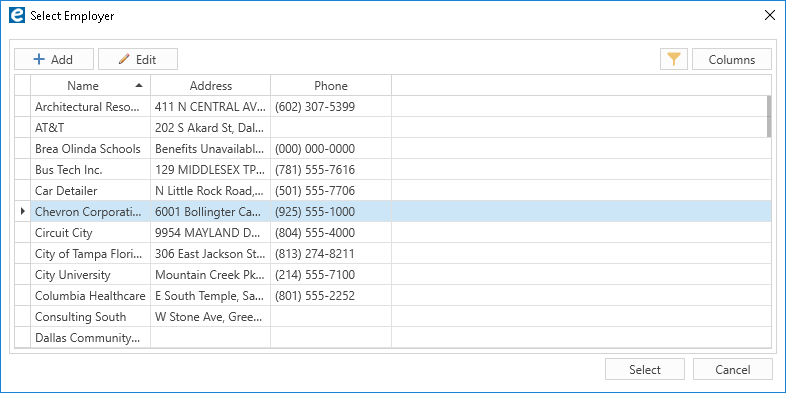
- Click the Advanced Search icon, select an employer from the Select Employer dialog box, and click Select.
- Click the Save Changes icon (green checkmark).
Bonus Tips
- You can only assign one employer to a patient.
- Always search for existing employers before adding a new one to avoid duplicate records in your database.
- For video tutorials on this and other Easy Dental topics, visit the Easy Dental Resource Center and click the link for Easy Dental Essentials. Register with an email address, username, and password to begin learning.
Additional Information
For additional information, see the following topics in Easy Dental Help:


